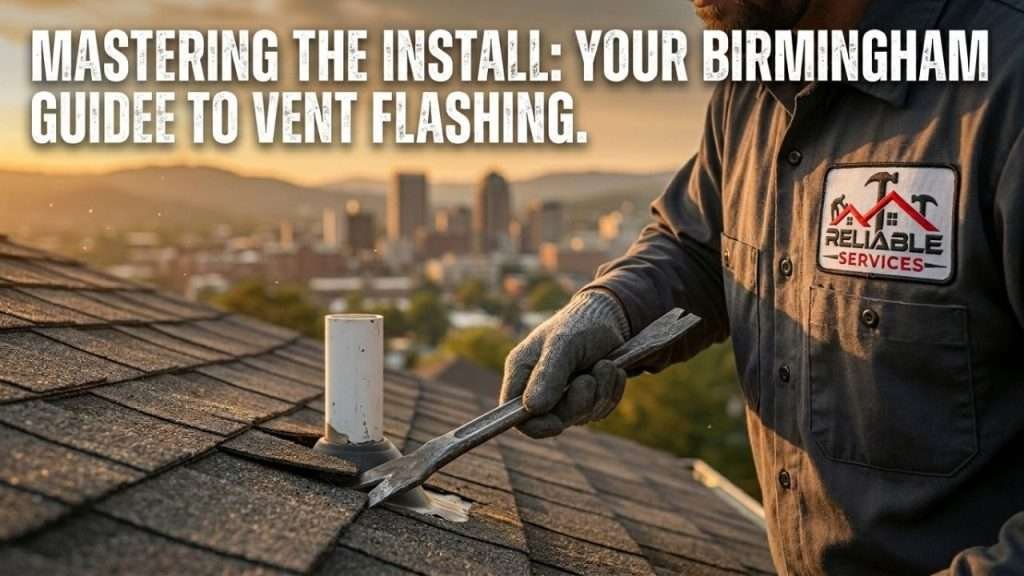
To fix a leaky roof collar, install the new flashing directly over the vent pipe. First, loosen the surrounding shingles and slide the new boot down. Next, run the upper half of the flange completely beneath the upper shingles. Leave the lower portion exposed on top of the downward courses. This specific overlapping configuration ensures water naturally sheds over the barrier. It keeps water from accessing the roof deck below. This is the correct way to handle a plumbing vent flashing installation without triggering structural failures.
Flawless execution is critical for a DIY roof flashing repair in Birmingham’s hot, humid climate. Our area experiences severe summer thunderstorms and intense UV exposure along the US-280 corridor. Volatile spring weather also means a minor shortcut will quickly manifest as a major ceiling stain or a rotted attic rafter.
At Reliable Service Roofing, we receive dozens of calls every year from local homeowners. Residents in Shelby and Jefferson Counties often attempt a quick patch. Later, they find that moisture had been quietly bypassing their repair for months.
This comprehensive manual breaks down exactly how to install roof vent pipe flashing on existing roof structures. Follow these steps to establish an absolute watertight seal that satisfies strict industry standards. This guide will help protect your home against Alabama’s unpredictable climate elements.
Expert Insight from the Birmingham Field:
Can you replace a roof boot without replacing the whole roof? Yes, absolutely. Homeowners in Meadowbrook, Greystone, and Inverness frequently ask us this question. A plumbing vent collar typically deteriorates within 8 to 12 years due to intense ultraviolet decay. Meanwhile, standard dimensional architectural shingle roofs can last 25 years or more. Replacing just the boot is a routine, cost-effective maintenance item. It shields your home from catastrophic localized framing rot.
Core Concepts & Roofing Dynamics
Understanding the Mechanics of Water Shedding
Before pulling out your toolbelt, you must internalize the foundational law of roofing: gravity-driven water management. Every component on an asphalt shingle roof is assembled in a cascading, overlapping hierarchy.
Water shedding demands strict adherence to roof boot flashing overlapping principles. Any surface pointing up the slope must step underneath the material above it.
Water traveling down the roof plane must cascade smoothly over the shingles. It flows onto the top flange of the pipe boot, then slides around the raised rubber collar. Finally, it exits onto the exposed bottom apron of the flashing and flows over the next lower course of shingles.
If even one square inch of the top or side metal flange sits on top of a higher shingle, water will run directly underneath it. It will penetrate your underlayment and find its way straight into your sheetrock ceiling.
Anatomy of a High-Quality Plumbing Vent Boot
A modern residential roof flashing assembly features a broad, flat base flange. This base is manufactured from galvanized steel, aluminum, or thick molded plastic. It couples with a flexible center collar composed of EPDM rubber or neoprene.
When selecting materials, professionals prioritize the best sealant for rubber collar roofing pipe vent installations. They also choose high-grade boots that match the exact pitch of the roof.
Cheap, universal plastic flashing boots are common at big-box home improvement stores around Hoover or Vestavia Hills. However, they tend to warp under intense southern heat. They often crack along the base seam within just a few years. Opting for a heavy-gauge aluminum base with an integrated, UV-stabilized rubber collar is always the superior choice for longevity.
Why Do Plumbing Vent Boots Fail in Alabama?
To understand why your roof vent flashing is leaking, look at our specific local environmental variables. Birmingham roofs endure extreme thermal expansion and contraction cycles.
During a typical July afternoon in Alabama, roof surface temperatures can easily exceed 150°F. A sudden afternoon downpour can then drop the temperature rapidly by 60 degrees in less than twenty minutes. This thermal shock causes your PVC or cast iron plumbing line to shift. The pipe expands at a completely different rate than the wooden roof deck framing.
Over time, this continuous physical movement stretches and stresses the rubber collar. Ultimately, the rubber snugly wrapped around the pipe tears. Once the collar splits, rain running down the pipe flows directly inside the attic space.
Furthermore, local wildlife like squirrels frequently chew on lead-capped boots to satisfy mineral needs. Intense UV rays also dry out standard caulking, leading to premature breakdown and immediate interior water damage.

Required Tools, Materials, and Professional Safety Equipment
To execute a long-lasting replacement operation, gather these commercial-grade tools and safety gear before climbing a ladder:
- Safety Harness and Roof Anchor: Essential for maintaining secure tie-offs on steep pitches. This is crucial in rolling hill communities like Mountain Brook or Oak Mountain.
- High-Quality Replacement Vent Boot: Sized specifically for your plumbing stack (typically 1.5-inch, 2-inch, or 3-inch schedules).
- Asphalt Plastic Cement (Roofing Sealant): Adhering to asphalt plastic cement application roof flashing guidelines is critical. Use premium SBS-modified formulations that will not melt or run under high temperatures.
- Heavy-Duty Pry Bar (Cat’s Paw or Flat Bar): Used to gently release old roofing nails without splitting fragile shingles.
- Standard Straight Utility Knife: Fitted with sharp hook blades for precise shingle trimming.
- 1-1/4 inch Hot-Dipped Galvanized Roofing Nails: Offering necessary corrosion resistance against humid Alabama air.
- Caulking Gun & Putty Knife: For smooth, uniform sealant application and thorough scraping of old debris.
CRITICAL SAFETY WARNING: Never step onto a roof without inspecting the stability of your decking. Always check local weather forecasts first. Afternoon thunderstorms bubble up rapidly in Central Alabama. They render pitch-heavy shingles instantly slick and highly dangerous. If your roof angle is greater than 6:12, or if you feel uncomfortable handling heights, do not risk a fall. Call our professional team immediately at 2700 Corporate Drive Suite 200 Birmingham Alabama 35242.
Step-by-Step Plumbing Vent Boot Integration with Existing Shingles
Follow this exact chronological protocol to guarantee a perfectly integrated, water-tight installation on an existing shingle roof structure.
Step 1: Assessing the Workspace and Establishing Safety Lines
Set up your extension ladder on firm, level ground. Ensure it extends exactly three feet past the roof edge. Secure your safety anchor at the ridge line.
Before touching any tools, thoroughly inspect the shingles directly above the vent pipe. Old shingles baked dry by the Birmingham sun can snap easily when pried upward. Work during the mid-morning hours when shingles are pliable from mild warmth but not yet searing hot.
Step 2: Carefully Loosening the Overlapping Shingles
Proper plumbing vent boot integration requires careful handling of the existing shingles. You must disengage the shingles wrapped around the top and side parameters of the old flange.
Slide your flat pry bar gently underneath the shingle directly above the flashing base. Locate the internal roofing nails securing that shingle layer and carefully pop them out one by one. Repeat this delicate process for the shingles flanking the left and right sides of the pipe. Loosen them far enough upward so you can slide a large metal flange underneath them without bending or creasing the asphalt.
Step 3: Removing the Failed, Degraded Roof Boot
Once the surrounding shingles are fully loose, lift them out of the way. Use your pry bar to pull out the original nails securing the base of the failed boot.
Carefully slide the entire old flashing assembly straight up and off the plumbing vent pipe. Take a sharp putty knife and scrape away all residual layers of dried caulk or hardened tar. Remove all embedded dirt from the exposed underlayment and shingle faces. The target installation surface must be smooth, clean, and dry to guarantee maximum adhesion for your fresh sealant.
Step 4: Trimming and Modifying the New Collar
Take your new flashing unit and verify its sizing. If you are using a multi-fit rubber collar boot, look for the clearly molded measurement lines on the rubber neck.
Use your hook-blade utility knife to trim the opening. Make it roughly 1/4-inch smaller than the outside diameter of your actual plumbing pipe. This ensures an incredibly tight, structural friction fit when you force it downward over the pipe stack.
Step 5: Applying the Primary Sealant Foundation
Flip the new vent boot over to expose its underside. Follow the explicit asphalt plastic cement application roof flashing guidelines. Apply a continuous, 1/2-inch thick bead of professional-grade asphalt plastic cement around the entire bottom perimeter of the metal flange.
Next, apply a secondary heavy ring of sealant directly onto the roof deck where the plumbing pipe emerges. This dual-layer application provides an impenetrable backup seal against potential wind-driven rain. It also protects against ice damming events during our occasional winter freezes.
Step 6: Driving and Seating the New Assembly
Carefully align the boot opening over the pipe and push it firmly downward. Slide it all the way down until the flange base makes solid contact with the roof surface.
As you near the deck, ensure the top and side metal wings slide cleanly underneath the loosened upper shingles. Simultaneously, verify that the bottom apron portion of your flashing sits cleanly on top of the lower shingle course. Press down firmly across the entire flange to spread the underlying asphalt cement uniformly.
Step 7: Fastening the Flange Safely
Take your hot-dipped galvanized roofing nails and secure the flange to the decking. Drive one nail into each of the two upper corners. Place one nail into each side flank, positioned perfectly underneath the loose shingle layers.
How do you seal a leaking roof vent pipe? You start by making sure you never drive nails into the exposed bottom apron. Face-nailing the exposed bottom edge leaves nail heads wide open to direct rainfall, creating an immediate leak pathway. Keep your fasteners confined underneath the shingle cover where they stay perpetually shielded from moisture.
Step 8: Re-Securing the Asphalt Shingles and Final Seals
Apply a small dab of asphalt cement onto the underside of every shingle layer you previously pried up. Press the shingles down firmly into their original positions over the new metal flashing base. Re-drive fresh roofing nails into the designated shingle nail lines. Take care not to puncture the flashing in an unprotected spot.
To conclude, apply a high-grade bead of sealant completely around the top crown where the rubber collar tightly hugs the plumbing pipe. Choose the best sealant for rubber collar roofing pipe vent applications. Smooth it down with a gloved finger to form a clean, water-shedding bevel.
Key Installation Metrics at a Glance
| Installation Phase | Critical Mechanical Requirement | Common DIY Mistake to Avoid |
| Shingle Layering | Top flange goes under upper shingles; bottom apron goes over lower shingles. | Placing the entire flashing on top of all shingles, creating an immediate water trap. |
| Sealant Choice | High-performance SBS-modified asphalt cement on the base; UV-stable poly sealant on the rubber. | Using cheap silicone or interior caulk that quickly cracks under intense Alabama heat. |
| Fastener Placement | Nail only through hidden portions covered by shingles; never face-nail the bottom apron. | Driving exposed nails directly into the bottom apron without protection. |
| Flange Preparation | Trim multi-fit rubber collars precisely 1/4-inch smaller than the plumbing pipe diameter. | Cutting the rubber opening too large, leaving a loose gap that relies solely on caulk. |
Comprehensive Cost Breakdown & Strategic Investment Considerations
When assessing a roof vent boot replacement cost, homeowners should understand the financial variance. There is a clear difference between taking a DIY route versus employing an elite local roofing contractor.
- The DIY Route ($30 – $70): A basic DIY approach utilizing retail components typically covers raw materials. This includes the cost of a safety line, a tube of premium sealant, and the flashing boot itself. However, this does not account for the steep physical risk of self-installation. It also ignores the massive hidden cost of an improper seal.
- Professional Execution ($250 – $550 per boot): Engaging a certified specialist like Reliable Service Roofing depends on several factors. The total depends on the height, pitch, accessibility, and complexity of your roof architecture.
If multiple ventilation stacks require replacement simultaneously, per-unit costs drop significantly. Investing in professional execution buys absolute structural insurance. Our work carries ironclad warranties. We also verify the absolute integrity of all surrounding structural elements before signing off on the project.
Long-Term Prevention Tips and Local Maintenance Protocols
An ounce of prevention goes a long way when maintaining residential roofs across the Birmingham metro area. We strongly advise homeowners to perform a comprehensive visual check of their ventilation boots at least twice every year. Check once in early spring before severe storms strike, and once in late autumn after leaves drop.
- Binocular Inspections: Use a pair of high-quality binoculars from ground level. Inspect the rubber collars for visible signs of dry rot, horizontal splitting, or animal damage.
- Gutter Management: Make sure your gutters are clear of organic clutter. When downspouts clog, heavy water back-ups can accelerate moisture migration under low-lying flashing points.
- Debris Removal: Clear accumulated tree debris from behind your plumbing stacks promptly. This is especially true if your home sits under heavy pine or hardwood canopies in Trussville or Mountain Brook. Damp organic matter traps rot-inducing moisture directly against the rubber collar.
When to Call a Professional in Birmingham
While a basic DIY roof flashing repair is technically feasible for an advanced handyman, several specific scenarios demand immediate expert intervention:
- Aggressive Pitches: Your home may feature an aggressive steep-slope roof layout with a pitch above 6:12. Walking this surface without professional stabilization systems is highly dangerous.
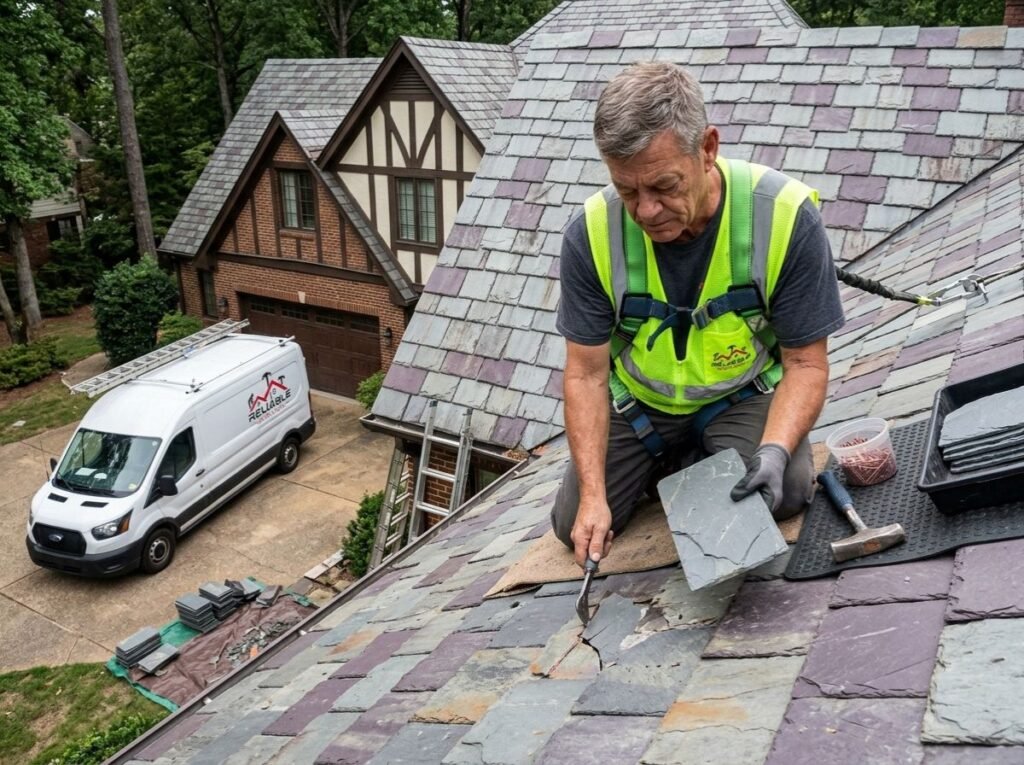
- Specialty Materials: Your home might feature heavy slate, authentic clay tiles, or premium cedar shakes. These materials are common in historic parts of Birmingham. You should never attempt a DIY boot replacement on them, as delicate materials require specialized cutting and fastening techniques to avoid fracture.
- Active Interior Leaks: If you already notice active water spots on your interior plaster or ceiling sheetrock, the damage has moved deep into your structural deck. In these scenarios, a simple boot swap will not suffice. Our team must perform a comprehensive diagnostic inspection. We check for black mold growth, rot inside the wooden rafters, and compromised attic insulation. Afterward, we perform a total restoration of the damaged envelope.

Why Choose Reliable Service Roofing for Roof Repair in Birmingham
Reliable Service Roofing stands as the premier authority for residential and commercial roof restoration across the greater Birmingham metropolitan footprint. Strategically anchored at 2700 Corporate Drive Suite 200 Birmingham Alabama 35242, we are positioned perfectly to deliver immediate solutions.
We offer swift Birmingham roof repair services to homeowners spanning from downtown Birmingham out to Alabaster, Chelsea, Leeds, and beyond.
We do not cut corners, and we do not use substandard materials. Every field technician on our crew is highly trained, fully background-checked, and completely insured to execute complex roof modifications safely. We treat every home as if it sheltered our own family. We pair old-school craftsmanship with state-of-the-art diagnostic technology to ensure your roofing system remains completely impervious to the elements for decades to come.
Local SEO Regional Coverage Matrix: Beyond Birmingham
Our dedicated mobile service crews extend their expert roofing and structural repair capabilities far beyond the immediate city lines of Birmingham. We maintain full operational readiness and local licensing to service these nearby municipalities and developments across Central Alabama:
- Hoover (35226, 35244): Providing rapid response repairs along the bustling I-65 and Montgomery Highway corridors.
- Vestavia Hills (35216, 35243): Delivering premium, high-end architectural metal and shingle integration services across Rocky Ridge and Liberty Park.
- Mountain Brook (35223, 35213): Specializing in historical preservation, complex high-pitch slate, tile, and premium copper flashing restorations.
- Pelham & Alabaster (35124, 35007): Ensuring affordable, long-lasting residential boot and deck repairs for expanding suburban family communities.
- Trussville & Clay (35173, 35048): Supplying robust emergency storm restoration and emergency tarping services for North-East Jefferson County residents.
- Chelsea & Inverness (35043, 35242): Serving our direct neighbors along the rapidly developing US-280 corridor with premier roof lifecycle extension plans.
Is Your Roof Vent Boot Leaking? Do Not Let a Minor Leak Destroy Your Home!
Contact the verified local specialists at Reliable Service Roofing today for an uncompromised, professional-grade solution. Our certified roofers will install a flawless replacement designed to withstand the toughest Alabama weather elements.
Call Us or Visit Our Local Office: 2700 Corporate Drive Suite 200 Birmingham Alabama 35242
FAQ
The absolute correct way to layer shingles around a pipe boot is to slide the upper and side flanges completely beneath the higher shingle courses. Keep the lower apron sitting squarely on top of the shingles below it to ensure natural down-slope water shedding.
You seal a leaking roof vent pipe by prying up the surrounding shingles and removing old fasteners. Next, spread premium asphalt plastic cement on the roof deck, slide down a properly sized replacement boot, and seal the top rubber collar with high-grade UV-stable caulk.
Yes, you can absolutely replace a single damaged or dry-rotted roof boot as a targeted, independent maintenance repair. You do not need to undergo a full roof replacement.
Your roof vent flashing is leaking because extreme thermal expansion, intense Alabama UV degradation, or wildlife damage has impacted the system. The flexible neoprene or rubber collar wrapped around the pipe stack is likely dried out, cracked, or physically torn.
A targeted professional plumbing vent boot replacement typically takes an experienced local roofing crew between one and two hours to complete cleanly from start to finish.
Premium SBS-modified rubberized asphalt plastic cement works best for Alabama roofs. It retains its elasticity and will not melt, sag, or run under intense summer surface heat exceeding 150 degrees.
Standard homeowners insurance policies generally do not cover roof boot replacements caused by normal age, wear-and-tear, or gradual UV dry rot. However, they may cover sudden damage resulting from an isolated, severe hail or wind storm event.